Wednesday 15 August 2018

3D Cards for Friends' Birthdays

Hi paper craft enthusiasts,

I haven't been posting for a while. I go in cycles and recently I have been knitting and involved in needlecrafts. But, I am back. I wanted to share two cards that I made for two of my friends that share the same birthday month. I just love the new layering dies that create the most phenomenal shadow box style cards. Spellbinders has come out with a lovely Rebecca Feeken design for a 3D card. I am always intriqued by cards that are interactive or 3D. This shapebilities die allowed me to make the most attractive cards I have created in a longtime. I also used Diversions dies to embellish the different layers. The little bird is a stampin up die and stamp. Hope you like them as much as I liked making them.

Cheers
Anna


Wednesday 31 August 2016

Tags for Designs by Ryn Challenge

I also used the Mermaid stamp along with the Kelp stamp and water droplets to create a couple of tags.

Here they are:

I used Ryn's tutorial to make the water droplets pop. I also fussy cut the mermaid out of scrap paper and used it to mask the already stamped mermaid so that I could add the willowy kelp in the background.

I love these stamps!!!!

Ryn Designs Challenge for August

Here is another lovely designer that I adore. Her stamp designs are unique. They are wonderfully whimsical designs that are both realistic and fantastical at the same time. I am particularly fond of her underwater sea collection. 

Here below I am sharing one of the Mermaid cards that I made using her stamp design and shells cut out of a set of Impression Obsession dies.


In order to add a water effect, I die cut waves from one of the latest Stampin Up sets.
Hope you like it!


Sunday 28 August 2016

Chocolate Baroque Challenge Entry


 Well, this challenge was one that I struggled with since I only own 5 sets of Chocolate Baroque stamps and they are beauties. I would love to own more of Lesley's stamps since I just adore the style and the elegance that comes through in each set. Instead of making one card I made three.


 Each card was very different. Two of the cards were quite structured and used a few techniques whereas the other one was very loose in design. What I did discover is that in many ways I prefer a structured card, although I wish that I could be more free with the medium that I choose to use. Well, here below is the first card that I made:


It incorporates simple stamping on white card stock and colouring in with stampin up inks in real red, olive green, and crushed curry. I watered down the inks on a palette and then brushed them on darkening the areas that I wanted to be darker. I used Michaels paper and three bling dots to add more style to the card. Hope you like it.


 For my second card I used embossing powder in white and in detail green moss from the Michael's recollections line to stamp the images. Then I used a dauber to pounce colour in with stampin up real red, garden green and crushed curry. To create atmosphere around the flowers and butterflies I used tumbled glass distress ink. Here is my second version : I rather like how it had a watercolour effect. 
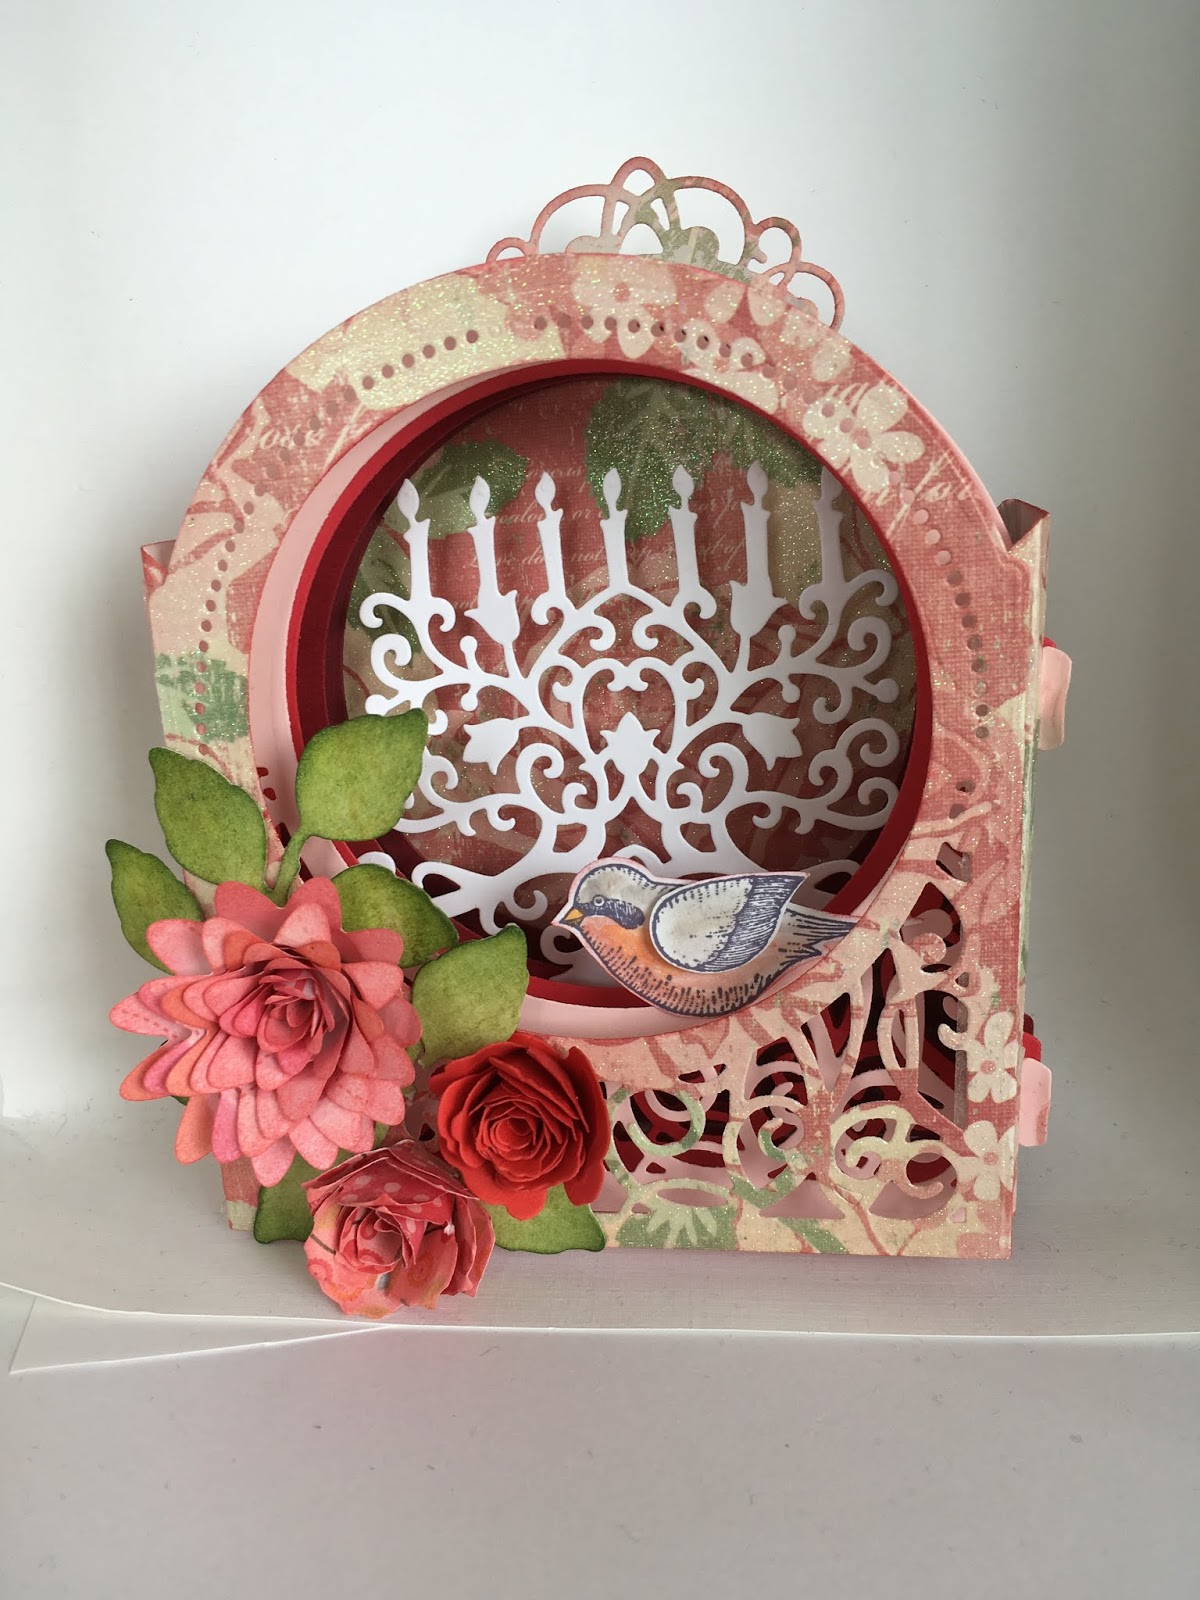
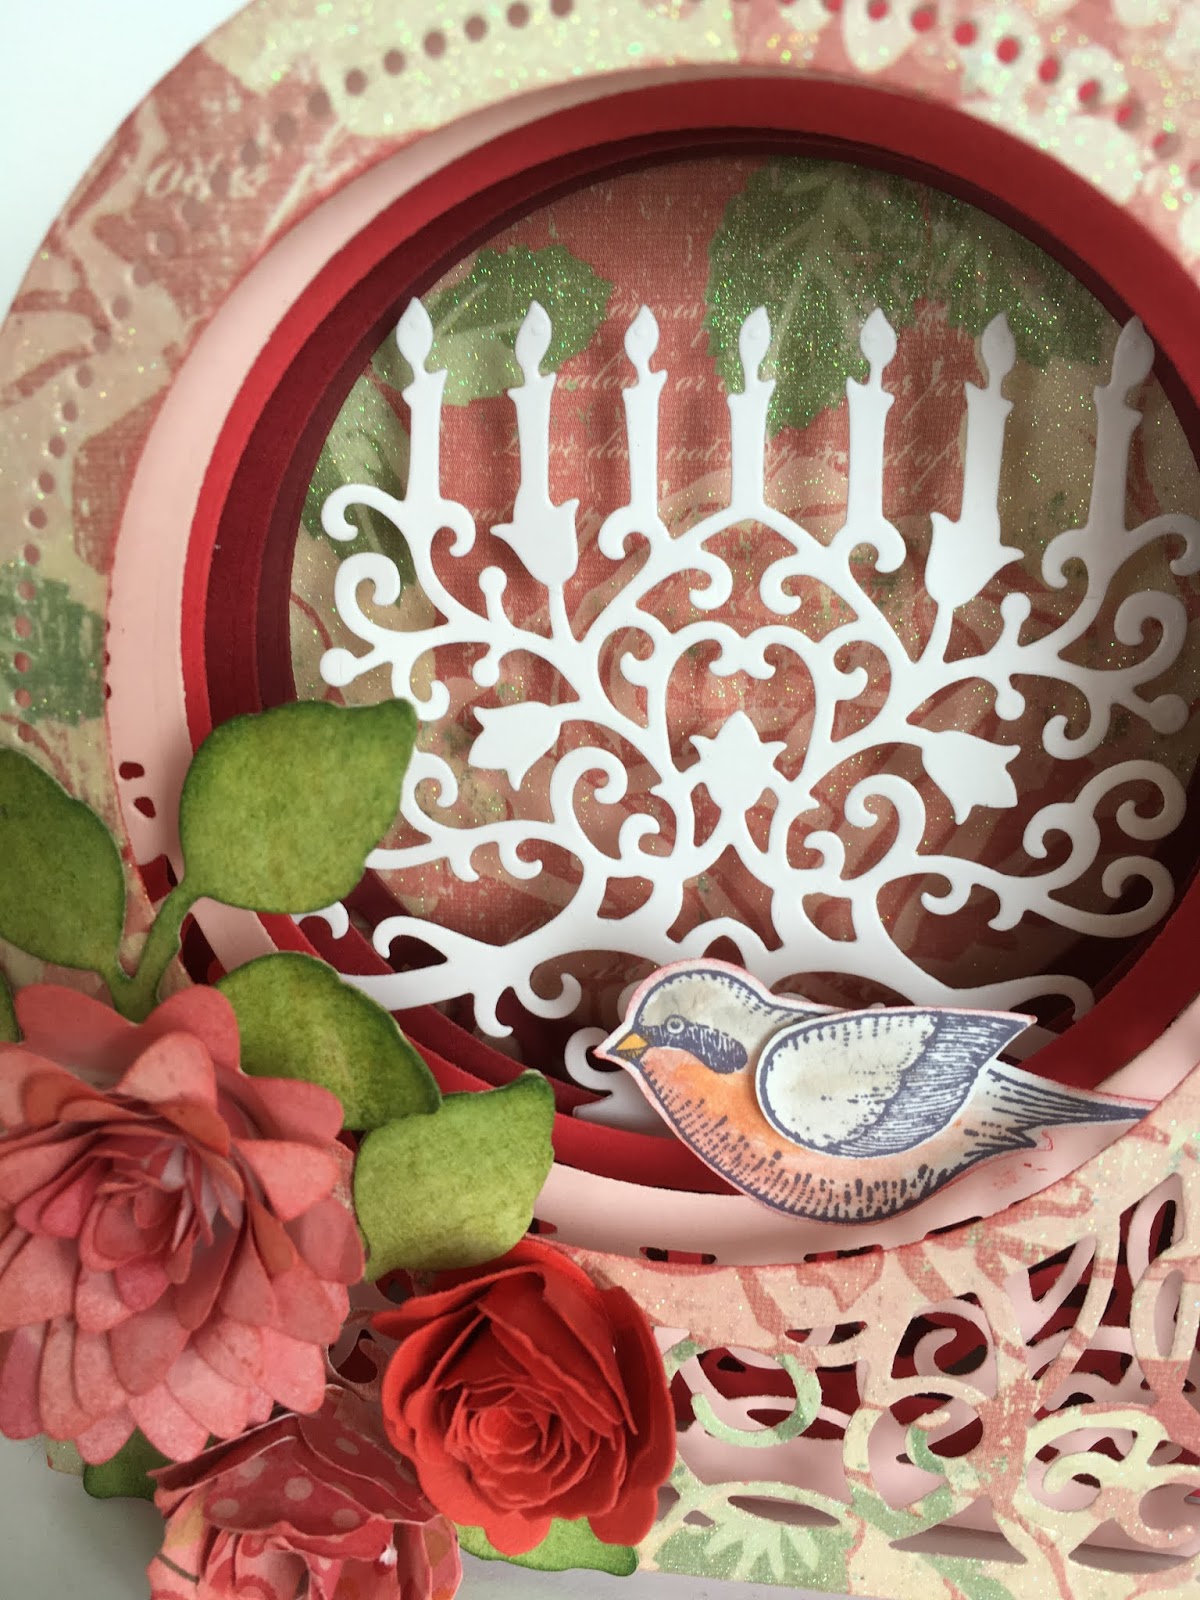
My third card is my favourite and uses a combination of techniques:

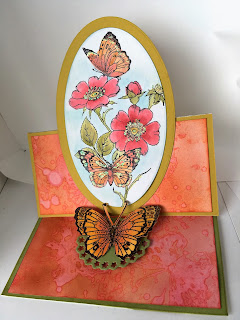
I used stampin up ink - real red, pumpkin pie, olive green, and crushed curry to get the lovely background colour. I wanted this card to be a different type of easel card and so I cut the oval shape into the easel card using My Memory Keepers Oval Set. I then stamped the image and coloured it in with ink wash and then stamped the butterfly on a separate piece of paper and fussy cut it. The tiny oval that serves to keep the butterfly aloft came form my Spellbinders Oval Florals set. 
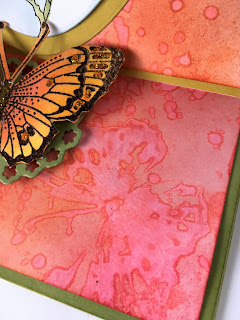
For the background I started off with a sheet of white paper where I heavily covered with ink blending real red, pumpkin pie and crushed curry together. Then I took the butterfly and wet it and stamped it onto the background that I created. I love the effect and you can see it on the closeup photo. To finish it off I used stickles star dust to provide some sparkle in the flowers and on the butterfly where I used tangerine stickles.

It was great fun!!!!! Onto the next challenge!!!

Paper Worthy and Chocolate Baroque Chocolate Challenge.

It seems that just yesterday I started making cards until I came across an old box of cards I made when I first started.
Wow, they were awful and yet at the time I thought they were fantastic. Proof was in the fact that I made several cards using the same stamps and materials. One card in particular stood out - A roman urn embossed with distress ink embossing powder (I didn't emboss it properly so there were patches of blotchy powder on the surface) stuck in the middle of the card with two mats that did not frame it well. The composition was off and the colours were blah. When I first started making cards, I bought cheap paper because I felt that where I was at in my cardmaking skills made me unworthy of better paper.

Sometimes, I still struggle with deciding to use beautiful paper to make beautiful cards. This harks back to being raised by depression-era parents. Recently, I came across a cute pin on Pinterest that depicted a shelf full of fabrics and there were sticky notes attached to the various shelves. One of the notes said "fabric too beautiful to use", I could relate.

Well, I am trying to change all that! Last night, yeah, I cut up some beautiful paper to use in a project.

So crafters, I challenge you to use some of that paper that you couldn't bear to cut into.

Have fun until the next time!!!